Soil testing

Know the ground before you commit to it.

Whether you are planning a revegetation program, buying a block, correcting a production problem or reporting on a site, the soil will decide what is realistic. We build the suite around that.

What we can run

Three groups. Tap for the full list.

Before you collect

Getting a sample worth testing

Most of the error in a soil result happens before the sample reaches us. A few habits remove nearly all of it.

01

Sample by zone, not by paddock

Split the site by soil type, slope position, vegetation and management history. A single averaged sample across three different soils describes none of them.

02

Take enough cores

Fifteen to twenty cores bulked and mixed per zone. One or two holes will not survive the variation in a real paddock.

03

Keep the depth consistent

0–10 cm for surface fertility and revegetation work, 0–30 cm where root zone or carbon is the question. Record it — a result without a depth is hard to use.

04

Avoid the obvious outliers

Stay clear of fence lines, gateways, stock camps, tracks, burn piles and old fertiliser dumps unless those are deliberately what you are sampling.

05

Air dry, do not oven dry

Spread the sample and let it dry out of direct sun. Heat changes nitrogen and some trace element results.

06

Label so it is still clear in six months

Site, zone, depth, date and who took it. Include a sketch or GPS points where you can.

Swipe →

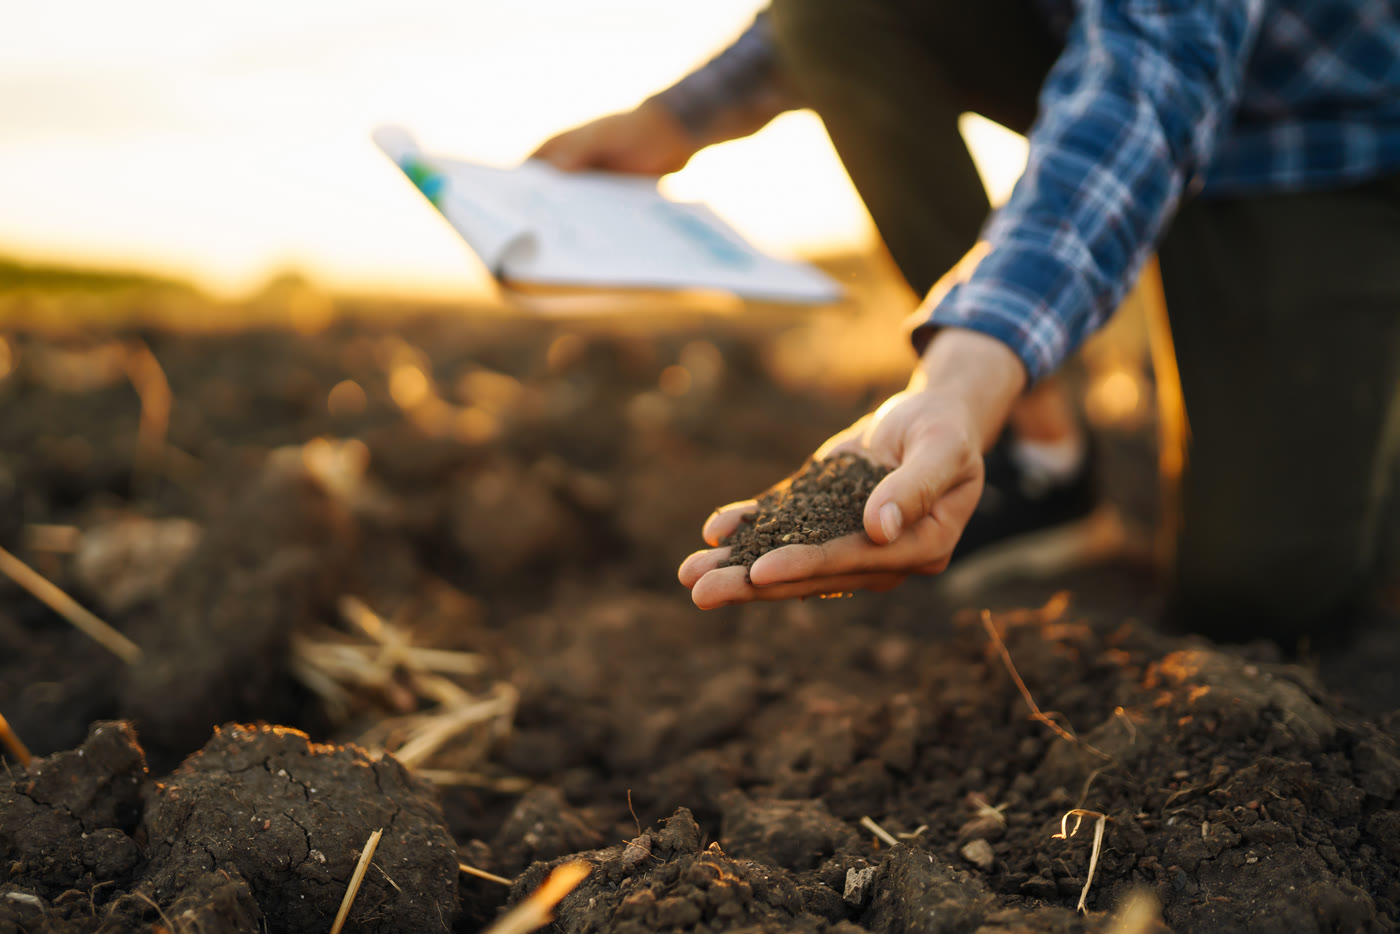
Analysing soil composition on fertile agricultural land
Start here

Send us the site history.

Old reports, aerial photography, a sketch of the zones — anything you have narrows the scope.

Start an enquiry